Gpu Doodle Animation
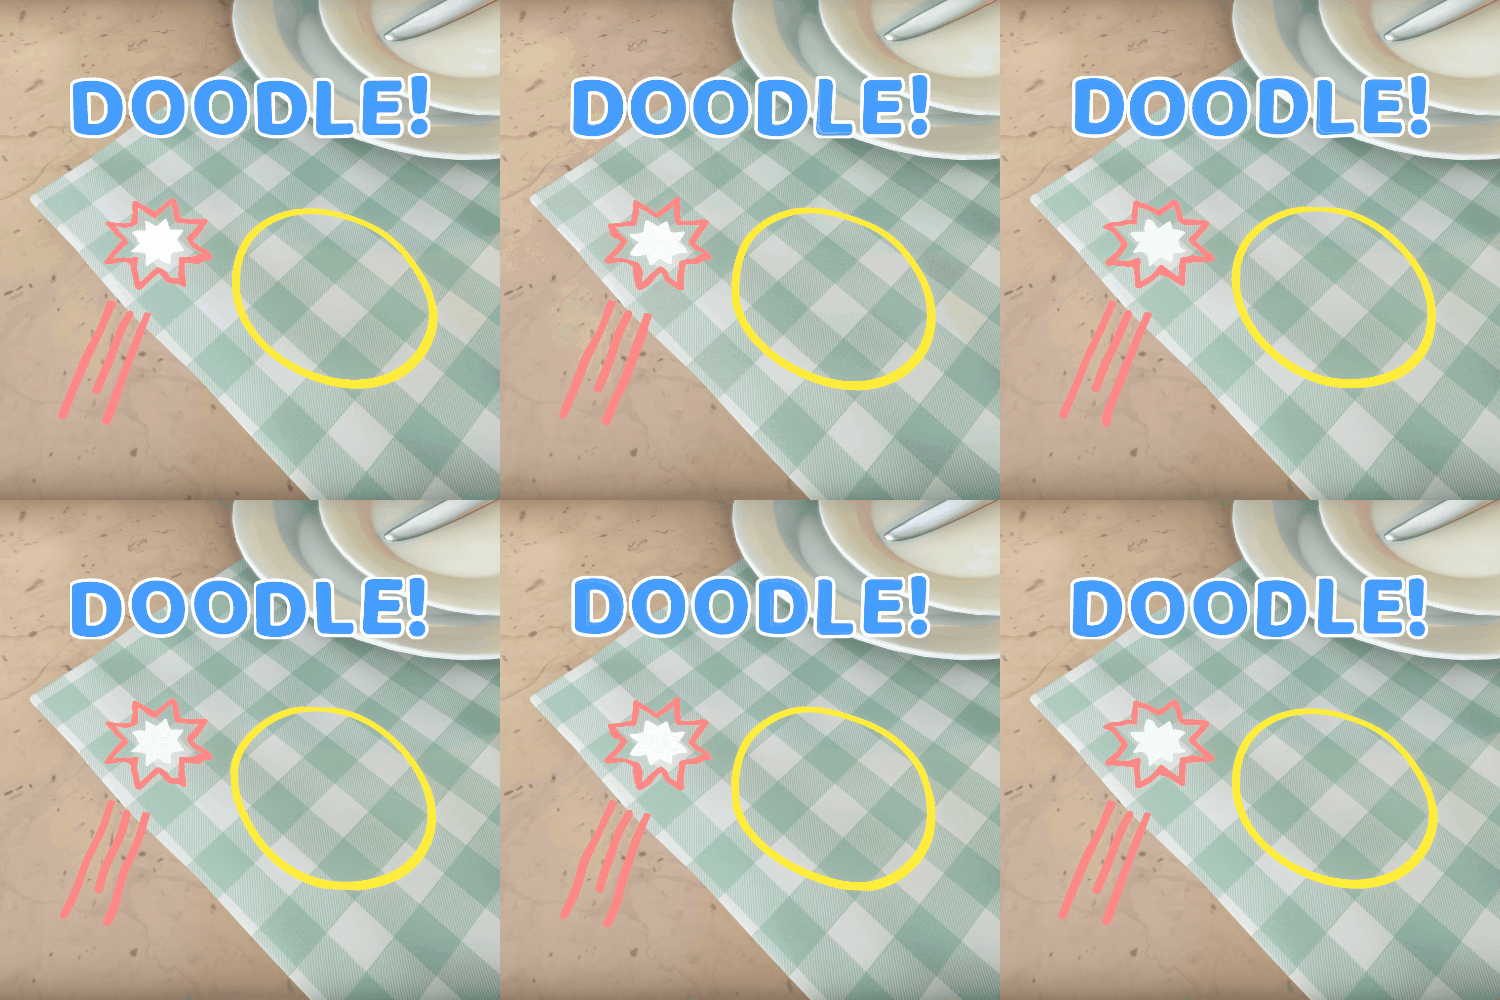
We recently decided to try out a hand-drawn style for all of our UI elements in Cake Bash. It fits with the ‘Real life doodles’ theme on all our characters, with their faces and limbs being hand-drawn. To go with this style, we decided to add a sort of doodle wiggle effect as we can often see with similar style (see Life is Strange or Snipperclips for instance).
We already had that effect on the faces of our characters, and since it was the only use-case, it was ok for us to manually draw multiple frames and to just animate it.
However, now that we want it on everything, it wouldn’t be smart to keep doing that, our memory budget would explode with 4 or more times more assets for all our UI. It would also be simply impossible with text.
That’s why we decided to go for a fully procedural way of managing that, using shaders only, here is how I did it, which will hopefully help you if you want to do the same!
This is made in Unity, but the principle really apply to any engine and is quite simple!
As a disclaimer, this is not a tutorial but simply us talking about how we solved this problem with practical examples. Feel free to use the code in your own project if it helps!
I always use the same constraints on my work as they apply to almost everything and are what, I believe, makes it nicer to work with what I make:
- Self-Contained: Ideally, I want to be able to add the effect to any shader quite easily or to share it with other projects, so nothing too big or which relies on too many things.
- Customisable: Our artist Laura (and me too) needs to be able to change the effect parameters to make it look like what she wants easily. That’s also what lets us iterate and try out things with settings which may end up giving new cool ideas.
- Easy to use: No crazy complicated way to set it up or settings which don’t make sense. Enabling the effect should be a check box on a component or material and a few parameters.
To make it as portable as I could, I decided to simply play with the texture coordinates (UV) of the mesh. This way it’s usable with any Sprite Renderer, Mesh Renderer or even Text (in our case, we use TextMeshPro, I’ll show you how to change the default TextMeshPro shader to use the effect too!).
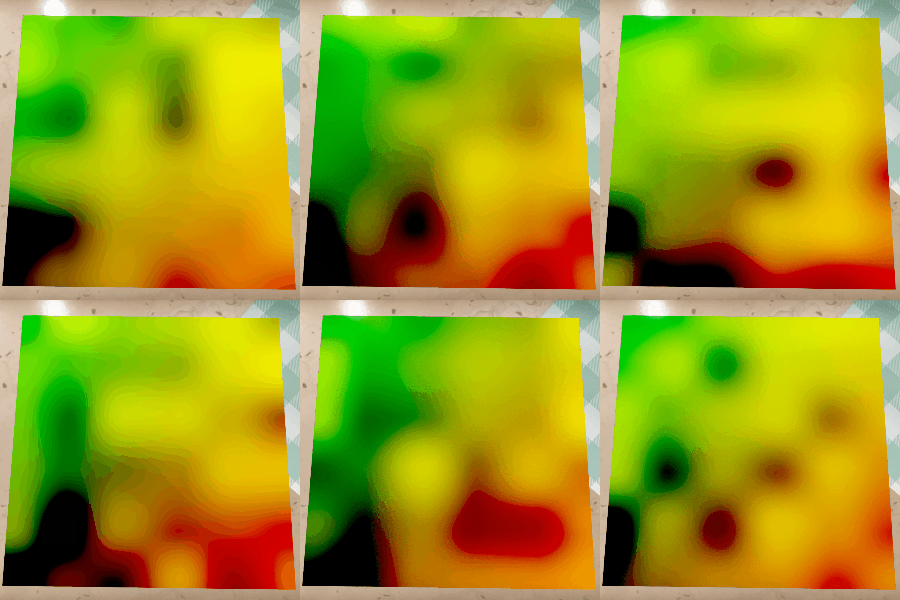
Texture coordinates animated with the doodle effect
Here is the fragment shader for the UV Doodle in the previous GIF:
// - How far can the UV be distorted, this value should be kept low, except if you
// - have free space around the texture. I use values around 0.005.
float2 _DoodleMaxOffset;
// - How long does a "frame" of the doodle last.
float _DoodleFrameTime;
// - How many different frames can exist in the animation
int _DoodleFrameCount;
// - This value is used to know how fast the noise gradient changes. The higher it
// - is the "noisier" the effect will be.
float2 _DoodleNoiseScale

float4 frag(v2f i) : SV_Target
{
    float2 offset = 0.0;
    offset = DoodleTextureOffset(i.uv, _DoodleMaxOffset, _Time.y,
                    _DoodleFrameTime, _DoodleFrameCount,
                    _DoodleNoiseScale);
    return float4(i.uv.x + offset.x, i.uv.y + offset.y, 0.0, 1.0);
}
As you can see, most of the work is delegated to another function. I keep that function in a utility cginc file so that I can easily re-use it between shaders.
Here is the magic function:
float2 DoodleTextureOffset(float2 textureCoords, float2 maxOffset,
    float time, float frameTime, int frameCount, float2 noiseScale)
{
    float timeValue = (floor(time / frameTime) % frameCount) + 1;
    float2 offset = 0;
    float2 coordsPlusTime = (textureCoords + timeValue);
    offset.x = (noise(coordsPlusTime * noiseScale.x) * 2.0 - 1.0)
        * maxOffset.x;
    offset.y = (noise(coordsPlusTime * noiseScale.y) * 2.0 - 1.0)
        * maxOffset.y;
    return offset;
}
The timeValue line is probably the most important part of the function. By flooring the division of the current time by the duration of a “frame”, I get a frame number we are on. Using the mod (%) operator on that frame, I make that number loop between 0 and the number of frames wanted. Finally adding 1 to avoid 0 as we multiply by this number later on.
I then add that timeValue to the UV coordinates, and calculate an offset by calling a noise function which returns a number between 0.0f and 1.0f. Multiplying by 2.0f and substracting 1.0f will remap the value between -1.0f and 1.0f, which is finally multiplied by the maxOffset settings in order to have a value between -maxOffset and +maxOffset.
[The noise function and the random used in it are not specifically relevant to the problem are you can use any function for that. You could also sample a seamless noise texture, or normal map, or really anything! So instead of having it in the post, here is a gist with the functions used: Code Gist
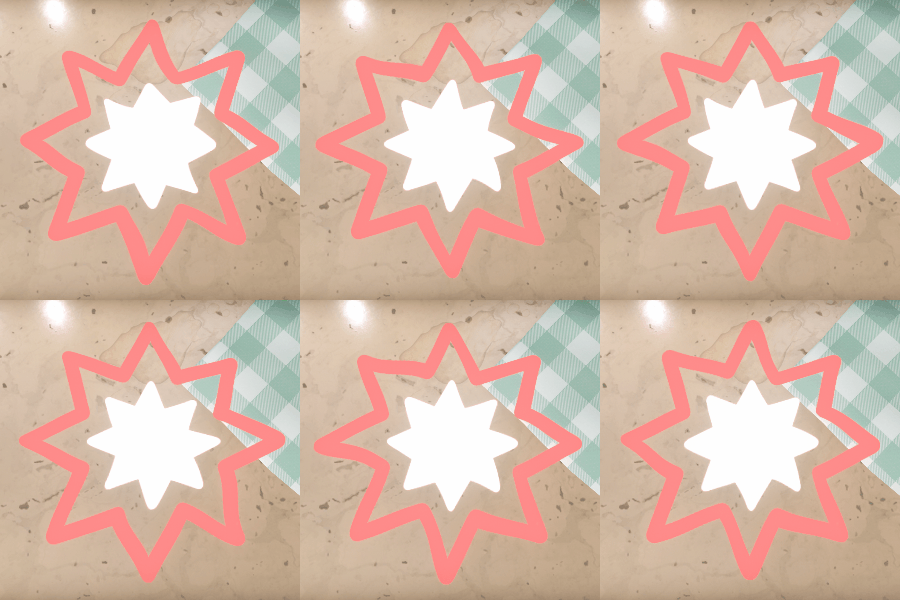
Rendering a sprite using the 'doodled' texture coordinates
That GIF has been rendered with this fragment shader, which is just using our function to get the texture offset, and then sampling the texture at that offset.
float4 frag(v2f i) : SV_Target
{
    float2 offset = 0.0;
    offset = DoodleTextureOffset(i.uv, _DoodleMaxOffset, _Time.y,
                    _DoodleFrameTime, _DoodleFrameCount,
                    _DoodleNoiseScale);
    float4 col = tex2D(_MainTex, i.uv + offset) * _Color;
    col.rgb *= _Intensity;
    return col;
}
Now, we’ve covered the easy-to-use and customisable. It’s only 2 parameters to control the speed of the effect and 2 other parameters to control the amplitude.
What about it being self-contained? The easiest way for me to test that was to try and implement it in something already existing, here is the implementation in TextMeshPro shader (TMP_SDF.shader):
fixed4 PixShader(pixel_t input) : SV_Target
{
    float uvOffset = 0;

#if defined(DOODLE_ON)
    uvOffset = DoodleTextureOffset(input.atlas, _DoodleMaxOffset, _Time.y,
                    _DoodleFrameTime, _DoodleFrameCount,
                    _DoodleNoiseScale);
#endif
    float c = tex2D(_MainTex, input.atlas + uvOffset).a;

...

#if UNDERLAY_ON
    float d = tex2D(_MainTex, input.texcoord2.xy + uvOffset).a
                    * input.texcoord2.z;
    faceColor += input.underlayColor * saturate(d - input.texcoord2.w)
                    * (1 - faceColor.a);
#endif

#if UNDERLAY_INNER
    float d = tex2D(_MainTex, input.texcoord2.xy + uvOffset).a
                    * input.texcoord2.z;
    faceColor += input.underlayColor * (1 - saturate(d - input.texcoord2.w))
                    * saturate(1 - sd) * (1 - faceColor.a);
#endif

...

}
Quite easy to add, right? Simply have to add an offset to the texture coordinates which are used. If the feature is not activated, the offset is 0, if it is, we calculate it using our function.
Note that to enable or disable the feature, you can simple add #pragma shader_feature __ DOODLE_ON along with the other #pragma. If you have a custom editor for your shader, you can just enable the feature through it, if not, you can declare a property for it like that:
[Toggle(DOODLE_ON)] _DoodleEffect("DoodleEffect", Float) = 0
This line will automatically add the keyword specified when the toggle is checked, and remove it if not!
And here is the result:
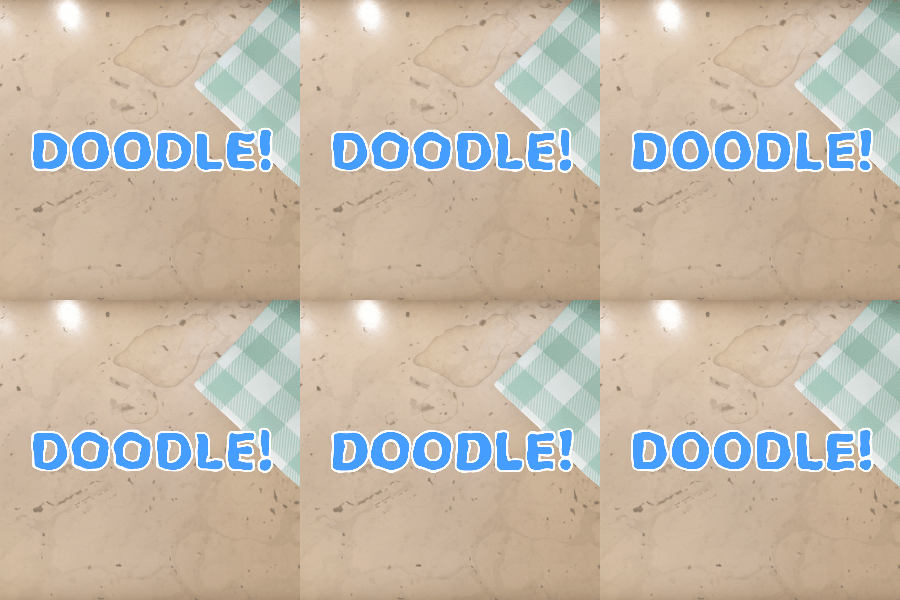
Text rendered with a modified TextMeshPro shader
I personally made a custom editor to keep the TextMeshPro editor style intact but it’s up to you!
Also, note that my process was actually in the opposite order when I worked on that. I started by making the text look good, then made the feature more self-contained so that we could apply it on everything!
I hope this is helpful and that it gives some cool ideas to people who wants to fiddle with shaders!
If you have any questions or remark, don’t hesitate to tweet @HighTeaFrog
